


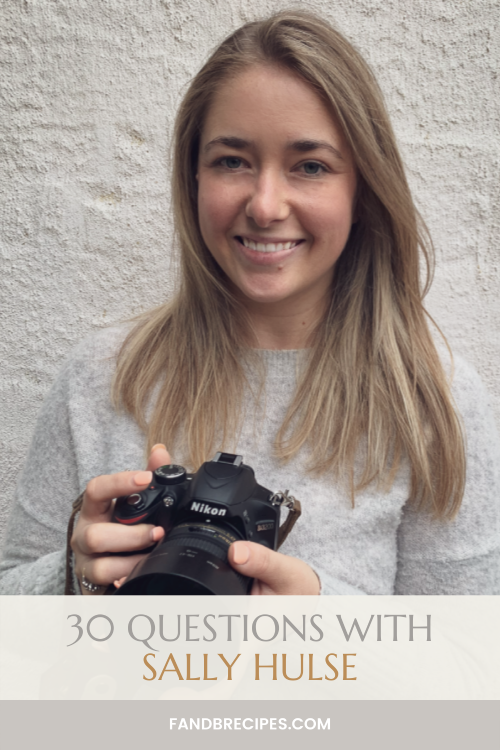
Today, we’re interviewing Sally Hulse. She’s an award-winning food photographer and stylist who’s enchanted by light, colour and mood. She’s also a recipe developer and wellness blogger. Tune in for photography inspirations and to get to know Sally better.
1. Hi Sally! We’re delighted to have you for the interview today. Please tell us a little about yourself.


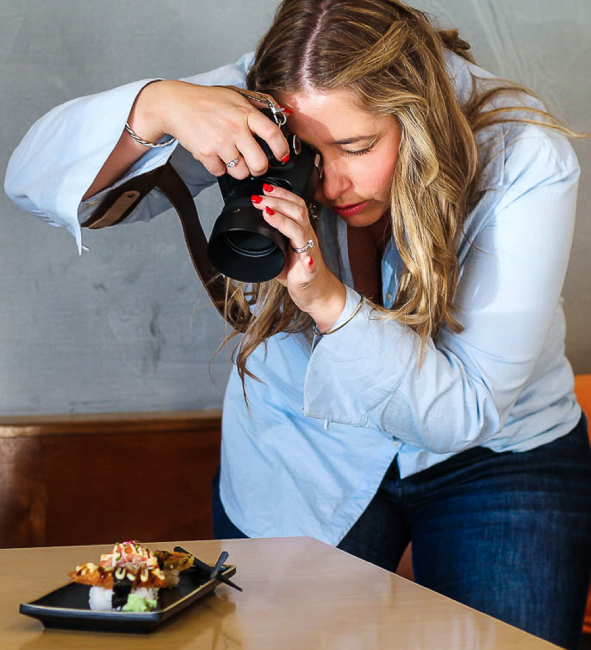
Thank you so much for the opportunity! I’m a freelance food photographer and food stylist, living in Melbourne, Australia. I have a husband, a young daughter, and a French Bulldog named Humphrey (who you will see on my Instagram account from time to time). I began studying in the mental health and criminal justice sector, moved to the automotive industry, and finally landed in photography. It took me a very long time to find my ‘calling’ in life – but food photography is it.
2. What was it like to win Foodelia’s International Food Photography award?
It was such an honour. And it came at a time when I was having a severe case of imposter syndrome, so it validated my path for me. It was very welcome.
3. What inspired you to become a food photographer?
I was taking an online course to teach myself how to take better photos of food for my recipe e-book, and while going through that process I fell in love with it and realised that this was what I was meant to be doing. That e-book never eventuated because I ended up going in the other direction – photography and styling.
4. How did it feel when you became an official J S Health Ambassador?
Amazing! It’s a company that I truly believe in and which has changed my life for the better in so many ways. Jess is a true inspiration and an absolutely beautiful human being. I get my inspiration from her when it comes to building and running my own business too.
5. What kind of gear do you use?

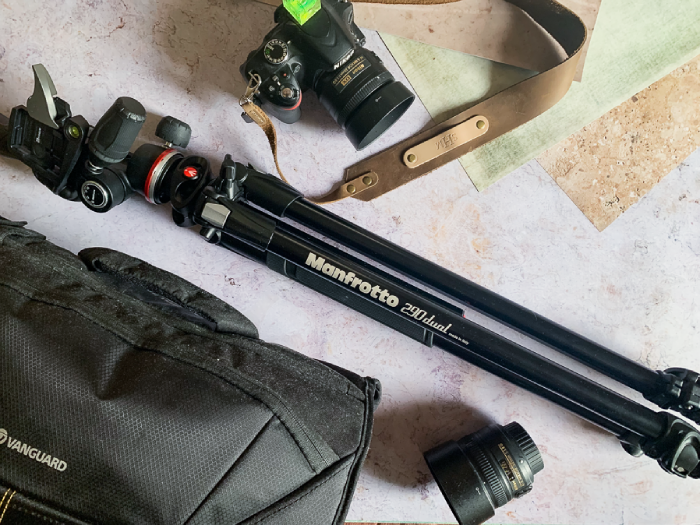

Camera body – Nikon D3200
Camera bag – Vanguard
Lens – predominantly my 35mm and 50mm Nikon lenses
Tripod – Manfrotto
Flash – I just use natural light
Background boards – A few favourites are CBL Backdrops and Fondos Para Fotografos. I also make my own custom backdrops.
6. What’s one piece of advice you’d want to give to someone new at food photography?
Practice. All the time. Every day. Even if it’s just for 15 minutes. It’s the best way to hone your skills.
7. What’s the difference between a food stylist and a food photographer?
As a food stylist, you are preparing the food/dish to be photographed. This involves working out which props to use that best tell the story of the food, and then styling that food on the plate in a way that showcases its best features. Garnishing it appropriately, and making it appear as perfect and delicious as possible.
As a food photographer, it’s your job to compose the scene, and to work with the light available to you (whether natural or artificial). You need to assess which lighting would be best for which dishes, what angle to use to compose your scene, be familiar with colour theory, and know how to use your camera settings. You need to select which depth of field would be the most appropriate for the story you are telling and be aware of the tonal contrast as well. Shadows are just as important as light in photography.
8. Do you believe that attending photography schools is a must to be a photographer?
Absolutely not! So many of the best photographers I know have never attended ‘formal’ training. They are mostly self-taught, as am I. I have gone through a mentorship program, and I have taken and continue to take online courses for specific things (ie. editing/composition/etc).
Education is a must, but attending photography school is not.
9. What are the top five skills that you need to be a food photographer/food stylist?
- Know how to use your DSLR in manual mode
- Know how to manipulate light
- Understand compositional theories
- Understand colour theory
- Learn about post-production and editing
10. What are the three things photographers wish their customers knew?
You’re not paying us to just click the shutter button on a camera. You’re paying us for our time, expertise, post-production, experience, equipment, etc. A good photo is so much more than a click of a button.
Good things take time. Don’t expect a photoshoot to happen overnight. There is a lot of prepping and planning and pre- and post-production that goes into our images that you just don’t see.
Listen to your photographer if they suggest changes. You don’t have to take everything on board, but we usually recommend them for a reason, and that’s because we know what will and won’t work on camera.
11. What’s that one gadget you wished you hadn’t splurged on?
Honestly, there hasn’t been anything I’ve regretted buying. Yet. 😉 I’m pretty cautious with what I buy and do a lot of research before I buy it. I ask for the opinion of my peers as well. Only then will I shell out the money for something.
12. List five props you’d consider as an investment.


- Glassware – Williams Sonoma (approx $20); thrift stores
- Handmade ceramics – Made +More Melbourne beginning at $15
- Old cutlery – thrift stores only
- Old bakeware – thrift stores only
- Oval platter – Made + More Melbourne beginning at $60; thrift stores
13. What’s your advice to someone who’s just started a food blog?
I don’t really have a blog as such but I have friends and peers who do, and from watching their journeys I’d probably say to just keep at it. It will take time to grow. Invest in a good SEO course, and join Facebook groups for bloggers. They’re always a great place to get advice and tips.
14. As a recipe developer, what’s the most important ingredient that you believe has the power to transform any recipe?
Spices. They can change the flavour of anything, and they’re a cheap and accessible source of flavour.
15. What kind of tools do you use for post-processing? (Please explain your workflow.)

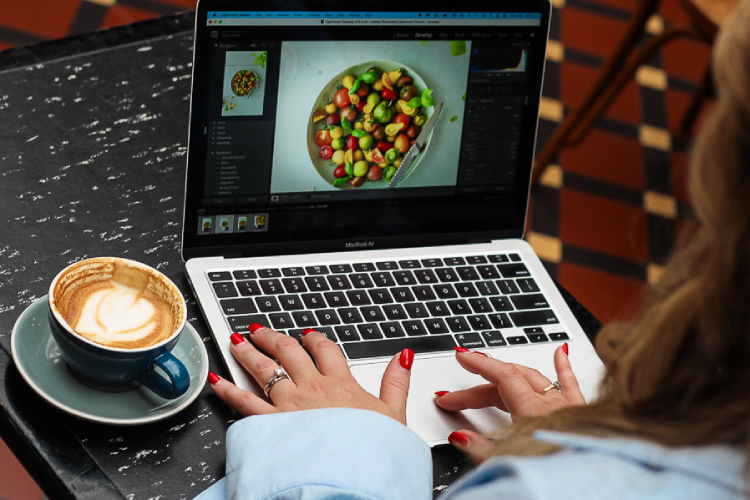

First, I will import my files into my editing program (mainly Lightroom Classic, sometimes Photoshop)
Then, I will crop my images first, especially if I know it’s destined for Instagram.
I usually begin with the tone curve, checking my white balance, and checking my exposure
I’ll move to the HSL panel and edit the colours in my image.
Then, I’ll perform any local adjustments as needed (eg. spot removal; corrections)
If I was shooting at a high ISO for some reason, I will adjust my image to fix any light and/or colour noise
Then I usually do some sort of colour grading in my images. Not to every single one though.
And which editing software or app would you recommend for:
Beginners: Lightroom CC
Intermediate: Lightroom Classic/Capture One
Professionals/Pros: Lightroom Classic/Capture One/Photoshop
16. Three editing secrets that no food photographer will ever tell you are…
If I told you, they wouldn’t be a secret! 😜 But I will say this: be sure to pay attention to and use your HSL panel; the Tone Curve is invaluable, and learn how to use split toning/colour grading.
17. Three food photography hacks that can transform photos from 0 to 100 real quick are…
Water and glycerine or glucose mix for fake condensation on drink glasses
A bounce board and fill board (to create light and shadows respectively)
Organic mess. Make the scene look lived in and that that scene still continues beyond the frame of the image.
18. Which photography school and workshops would you recommend and why? (Please mention their costs and links so that our readers can easily get all the info)
Any of the courses offered by Rachel Korinek from Two Loves Studio
Fee: $97 onward.
Foodtography School is great for the basics, it’s where I started.
Fee: $587
Style Mastermind with Sam Adler. Hands down one of the best things I’ve ever done.
Pricing available on request from Sam only
19. What’s more important: colour coding or lighting? How can you create a balance between the two to create beautiful photos?
I would say lighting. You can have the best knowledge of colour theory in the world, but without knowing how to use and manipulate light, you won’t get showstopping photos. Creating a balance is about knowing how different colours interact with light. After all – without light, there would be no colour.
20. What’s your favourite cuisine and why?

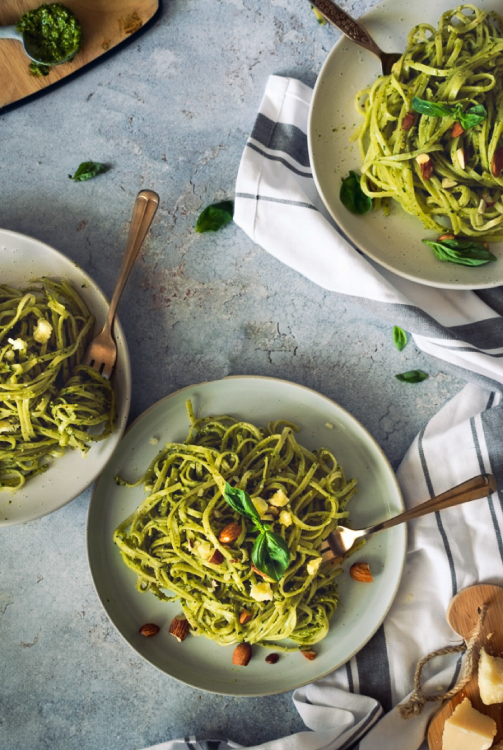

I cannot go past Italian food. And I mean real, good Italian food. Not the variations of it found in many countries. I love how honest Italian cuisine is and how it celebrates the simplicity of its ingredients and flavours.
21. Which country would you travel to for its food and culture?
Mexico is definitely on my list for this. The food is so fresh and vibrant and packs a punch with flavour. The culture seems to be exactly the same.
22. What’s your favourite cooking hack?
Probably the old trick of adding lemon juice to milk to make your own buttermilk. This has saved me many times when I just didn’t have a carton of buttermilk in the fridge.
23. What is the one thing you wish you knew when you started taking photos?
That you WILL have creative lulls where you feel like you have nothing left in the tank. Just ride it out. It will come back.
24. How do you develop a recipe and how much time does it usually take?
I start by brainstorming any key flavours and/or ingredients that I need to be included in the recipe. I will research similar recipes and I will research flavours to see what works well together. Then the testing phase happens. Sometimes I get it right on the first try, other recipes can take several attempts to achieve perfection. It’s a big job to develop a recipe from scratch (something that a lot of people/brands don’t fully realise) and can take anywhere up to two or even three weeks to get right.
25. What inspires you to cook every day and how do you work?
I’m a one-woman band, so I do it all. It’s hard work and takes a lot out of me – but I love it! Nothing has to inspire me to cook – it’s just a part of who I am. I adore it.
26. What is one best photography gadget one must invest in?
A good diffuser. It can help you manipulate the light and transform your photos.
27. Can food styling be done on a budget? If yes, how?

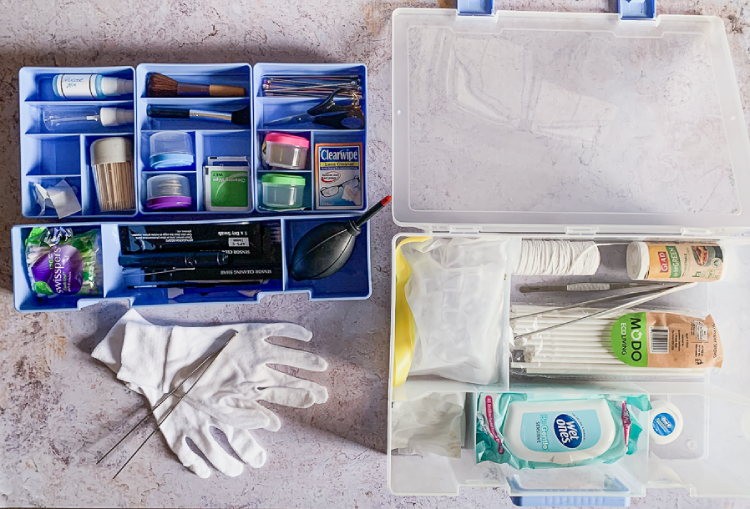

Of course! You don’t need fancy equipment to style food. If you’ve got a pair of hands and a good eye, that’s absolutely all you need to get started. My styling kit is made up of rudimentary household things like toothpicks, tweezers, blu-tack, coins, olive oil, paintbrushes and make-up sponges.
28. What’s the most common mistake most food photographers or stylists make?
One of the most common mistakes, and something I was guilty of when I started, is heavy-handed or over-editing. Overly saturated colours, overexposure etc. Remember, less is more.
29. How do you educate yourself to take better pictures?
Do the work. Read books on photography, study images that you love and work out why you love them. Ask questions. Study light and colour. And PRACTICE.
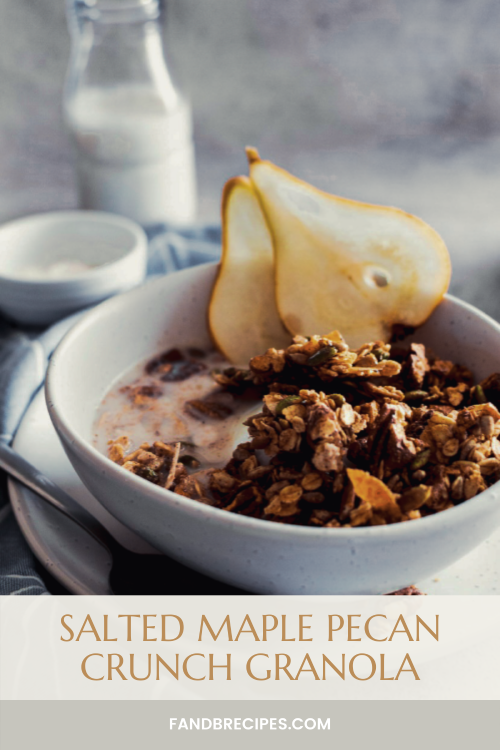
30. One recipe you’d like to share with our readers…


Salted Maple Pecan Crunch Granola
Ingredients
- 1 cup oats
- ⅓ cup pepitas
- 1 cup pecans
- ¼ cup sunflower seeds
- ⅔ cup coconut shaved
- 1 tsp cinnamon
- 1 tsp sea salt
- 3 tsp nut butter heaped
- ½ cup maple syrup
Instructions
- Preheat the oven to 160°C.
- Combine all dry ingredients, except salt, in a bowl and mix.
- Place the nut butter, maple syrup and sea salt in a small bowl, and mix until well combined.
- Pour the maple syrup mixture into the dry ingredients. Stir well until the granola is well coated and sticky.
- Line a baking pan with baking paper, and spread granola mixture into one layer on the pan. Sprinkle with a good pinch of additional sea salt.
- Bake in the oven for 10 minutes.
- Remove from the oven, stir, and then place back in the oven for a further 5-10 minutes, depending on how golden you like your granola.
- Remove from the oven and allow to cook completely to room temperature.
- Break the granola into bite-sized chunks and store them in an airtight container. They can be consumed for up to two weeks.


Get in touch with Sally on Instagram for more information.


Shristi is an avid reader, recipe developer and wellness enthusiast. She’s probably making a mess in her kitchen right now.