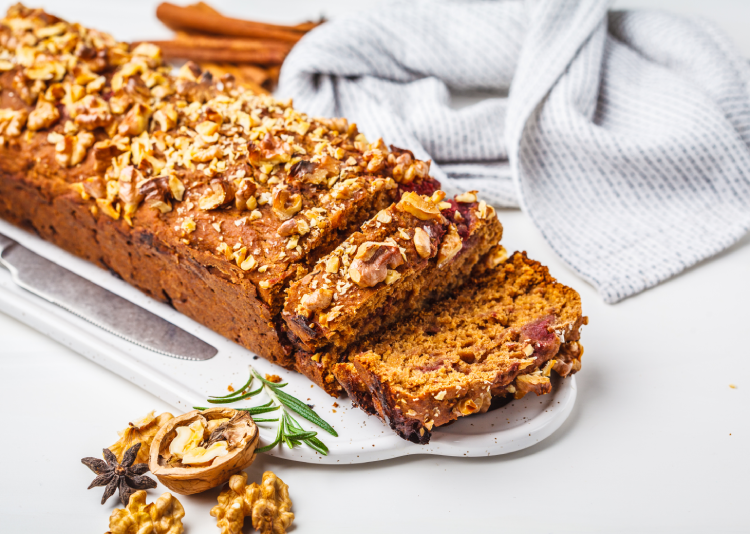
Are you looking to improve your skills as a baker? Tired of making average-tasting pastries and want to take things to the next level? Below are three unspoken yet important secrets to help you make delicious and fluffy bread!
Use the Right Flour
As we all know, flour is one of the most essential ingredients when it comes to baking. If you are a baking beginner, all-purpose flour will most likely meet your needs. However, if you are an avid baker and are trying to take things to the next level, choosing the right flour is a skill you will need to develop to up your baking abilities.
Due to the average protein content in all-purpose flour, a cake made with all-purpose flour can turn out a little dense and hard, and bread made with all-purpose flour can bake too soft. While this may not make a huge difference to the average baker, it, unfortunately, does take away from the tasting experience for pastry and dessert lovers.
As a result, it is important to note which flour is most suitable for the bread or dessert you are baking. Below are a few pointers to help you use the right flour:
- For bagels and pizza crusts, use high-gluten flour (14-15% protein)
- For hearth bread, use whole-wheat flour (14% protein)
- For ordinary bread, use bread flour (12-13% protein)
- For biscuits and cookies, use self-rising flour (9-11% protein)
- For pie crusts and pastries, use pastry flour (8-9% protein)
- For the cake, use cake flour (5-8% protein)
Check Your Knead Dough with a Test
Kneading is the process of developing your dough so that it becomes stronger and more elastic, for better volume and gas retention when baked. Depending on the type of bread or pastry you are making, kneading can take anywhere between a couple of minutes to a full-blown half an hour. It is important to know when your dough has been adequately kneaded and is ready for baking. To determine whether or not your dough is kneaded enough, use the gluten window test.
The gluten window test involves holding the dough between two hands with your thumbs and forefingers and stretching it. If your dough is not kneaded enough, the dough between your hands will fall apart as you continue to stretch. Knead until the dough between your hands becomes translucent and does not tear easily (the gluten window). A translucent membrane should be visible when your dough is kneaded adequately.
Proof Your Dough
Dough that requires fermentation can often benefit from the proofing process as well. While the term ‘proofing’ can refer to any stage of fermentation, it is usually associated with the final rise of dough which occurs right after shaping and before baking.
Proofing is an important step to baking bread, as it allows for yeast to release carbon dioxide and gluten to stretch so that it can hold air bubbles. It is especially integral to baking softer and fluffy bread and pastries such as croissants. Not only is proofing important to making baking processes, it also needs to be done correctly. Overproofing (waiting for the dough to rise for too long) can cause too many air bubbles and for bread to become crumbly and fall apart, and under proofing (waiting too little for the dough to rise) can cause bread to bake hard.
If you are looking to become a successful baker, it is important to know how and when to proof, and for how long. Proofing can make all the difference when it comes to making fluffy and layered pastries, so it is essential that you add the step to your baking process. Proofing can be helpful to prepare frozen dough before baking as well.
Baking is a complicated process and not all your creations will always turn out delicious and ready to be served. To help you find consistency and improve your baking creations, be sure to implement the above three secrets into your baking process!

